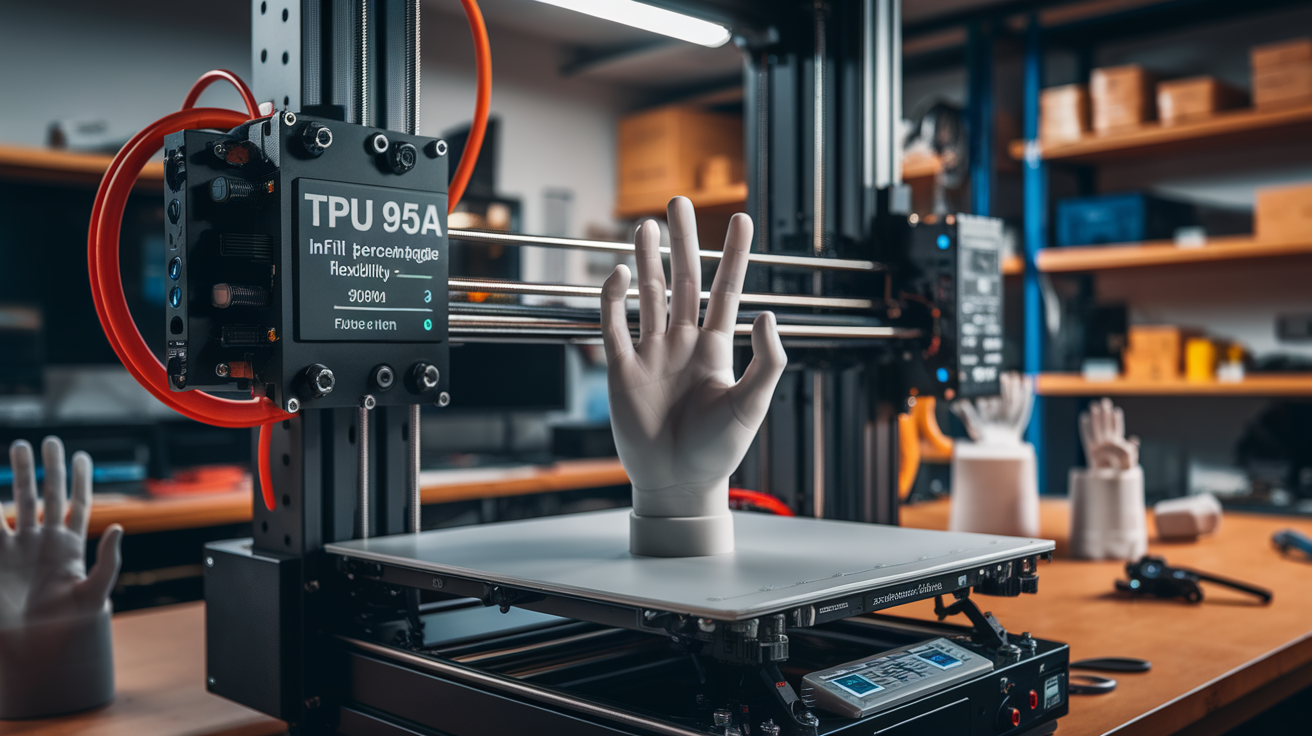
TPU 95A Infill Percentage and Flexibility: How Much Infill Makes a Phone Case Soft vs Rigid
How TPU 95A infill percentage actually controls flexibility
The TPU 95A infill percentage flexibility relationship is the most misunderstood print setting in flexible filament work. People assume infill is just structural — more material, more strength — and ignore that with TPU 95A the percentage you choose is the dominant lever for how the part feels in your hand. A phone case at 5% infill flexes like a rubber band. The same case at 30% infill feels like a hard plastic with slight give. Same filament, same printer, same shore hardness — the part behaves like a different material entirely. This is the thing that makes TPU different from rigid filaments and the thing nobody tells you when you start.
The reason the relationship is non-linear and non-obvious is that infill in TPU is doing two jobs simultaneously. It is providing structural support like in any material, and it is gating how much the walls can deform inward when you press on them. Wall thickness is a small input; infill density and infill pattern are huge inputs. Get the combination right and a single roll of TPU 95A covers everything from soft phone cases to vibration-damping mounts to semi-rigid functional parts.
The infill percentage map for TPU 95A
Working through the numbers from soft to firm gives you a usable mental model. At 0% infill (vase mode or fully hollow), TPU 95A is at maximum flexibility — wall-only behavior, very compressible, very prone to permanent deformation if loaded too hard. Niche use case: ultra-soft cushion inserts. At 5-10%, the part is recognizably flexible — bends with one hand, returns to shape, suitable for phone cases, watch straps, soft handles. At 15-25%, the part is “semi-flex” — bends under deliberate effort, holds rigid shapes for casual use, suitable for vibration dampers, gaskets that need to hold a shape, drone parts. At 30-50%, the part is functionally rigid in normal handling but compresses noticeably under load — suitable for engineering parts where some compliance is desirable. At 60-100%, the part feels like a hard rubber and behaves nearly as a rigid part — appropriate for tooling, fixtures, jigs that need to absorb impact rather than transmit it.
These zones overlap and the boundaries are fuzzy. The exact feel at 15% depends on your wall count, infill pattern, and the specific TPU brand. But the rough mapping is reliable across most slicers and most printers — increase infill, decrease perceived flexibility, in roughly the proportions above.
Pattern matters more than percentage at low infill
Below 25% infill, the infill pattern is more important than the percentage. A 10% gyroid feels different from a 10% grid which feels different from a 10% lightning. Here is why: gyroid creates a continuous interconnected lattice that resists compression isotropically — the part feels uniformly springy in every direction. Grid creates orthogonal walls that resist along their axes but collapse perpendicular to them — the part feels stiff in two directions and soft in the third. Lightning creates sparse vertical pillars that support roof printing but provide almost no lateral stiffness — the part feels nearly empty in the horizontal direction.
For TPU 95A flexible parts, gyroid is almost always the right choice. It produces consistent feel, prints cleanly with TPU’s slow-flow constraints, and converts the percentage into perceived flexibility predictably. Use grid only when you want directional stiffness (a phone case where you want the back to flex but the corners to be stiff). Skip lightning for TPU entirely — it makes the part feel hollow and the corners are unsupported when you grip the part.
Wall count is the secondary lever
Wall count (perimeters in Cura, walls in PrusaSlicer) directly affects flexibility because the walls are the part of the print you actually touch. Two walls of TPU 95A at 0.4 mm line width gives 0.8 mm of solid wall material. Three walls gives 1.2 mm. The wall stack carries the bulk of the bending load because the infill is mostly empty space.
For maximum flexibility, use 2 walls. For balanced flex, use 3. For semi-rigid parts where you want infill to dominate the feel, push to 4-5 walls. The interaction with infill percentage is what gives you fine control: a part with 2 walls and 25% gyroid feels softer than a part with 4 walls and 15% gyroid, because the wall stack contributes more to perceived stiffness than the small infill change. Understanding both levers together lets you hit the exact target feel you want.
Our TPU Shore hardness comparison guide covers how 85A and 70A behave differently — but the infill-percentage rules above translate directly. The softer the base shore, the more dramatic the infill-driven flexibility shift becomes.
Common application zones with concrete settings
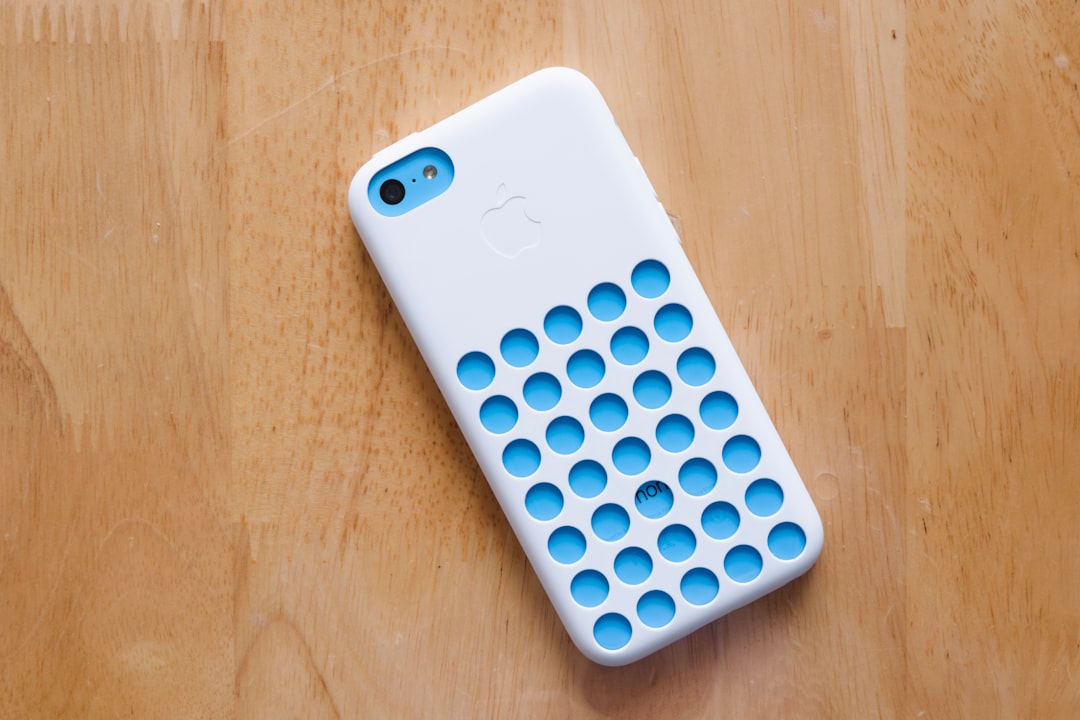
Soft phone case: 2 walls, 5% gyroid infill, 0.2 mm layer height, 25 mm/s perimeters. The case bends easily for putting on/taking off the phone, then holds shape during use.
Watch strap: 2 walls, 10% gyroid, 0.16 mm layer height, 20 mm/s on perimeters because layer adhesion matters a lot here. Strap flexes around the wrist without breaking layer bonds under repeated bending.
Vibration damper for a 3D printer: 3 walls, 30% gyroid, 0.2 mm layer height. Damper supports the printer’s weight without compressing fully, but absorbs vibrations from the bed/gantry rather than transmitting them.
Soft jaw for a vise: 4 walls, 50% gyroid, 0.2 mm layer height. Holds parts firmly when clamped, deforms slightly to grip irregular surfaces, returns to shape when released.
Custom gasket: 3 walls, 25% gyroid, 0.16 mm layer height. Compresses to seal under bolt tension, returns to roughly original thickness when bolts are removed for re-use.
Drone landing gear: 3 walls, 20% gyroid. Absorbs landing impact without permanent deformation, fails gracefully on hard crashes by bending rather than shattering.
What infill does not solve
Infill percentage cannot make TPU 95A behave like a rigid material no matter how high you go. At 100% infill the part is firmer but still has TPU’s characteristic surface compliance and recoil — a hammer striking a 100% TPU part bounces noticeably more than the same hit on PETG. If you want true rigidity, switch to PETG or ASA, not “TPU 95A at high infill.”
Likewise, 0% infill does not make TPU 95A behave like 70A or 85A. The shore hardness sets the polymer’s intrinsic softness and infill modifies how the geometry responds — but a hollow 95A wall is still 95A material under your finger. It will feel less compressible than a solid 70A part of the same shape. Pick the right shore for the application first; then tune infill percentage for fine control.
Print quality at low infill — the under-discussed gotcha
Printing TPU 95A at 5-10% infill exposes any inconsistency in your retraction and pressure-advance settings. Stringing inside the part is hidden by the walls but it weakens the inter-layer bonds in the infill, and after a few flex cycles the part can fail at the strings rather than at the wall. Calibrate retraction carefully on a TPU-specific test print before committing to high-volume low-infill prints. Our TPU pressure advance tuning guide walks through the calibration that prevents this failure mode.
Bridging at low infill can also introduce voids near top surfaces. Use enough top layers (5-7 for 0.2 mm layer height) to reliably bridge across the sparse infill below. Insufficient top layers produce sagging and pinholes that look fine on the print but compromise the part’s grip and flex feel.
How to dial in your own ideal infill for a given part
The honest workflow is iterative. Print the part once at 15% gyroid as a starting point. Hold it. Squeeze it. Rate it on a 1-10 softness scale. Decide if you want softer or firmer, then move 10% in the appropriate direction and reprint. Two iterations usually nail it. The temptation to skip this step and print at “30% because that is what I always use” is what produces TPU parts that feel wrong for their application.
Save the iteration for new applications only. Once you have a setting that works for “phone cases” or “vibration dampers” or “soft jaws,” reuse it for similar parts. After a few months you have a personal reference table of TPU infill settings by application, and you stop iterating because you already know the answer.
How TPU infill behavior compares with rigid filaments
One reason this surprises new TPU users is that the relationship between infill and feel is fundamentally different from PLA, PETG, or ASA. Infill on a rigid filament mostly affects strength and weight — a PLA part at 15% infill is not perceptibly more flexible than the same PLA part at 50% infill, because PLA itself does not flex and the walls dominate the perceived stiffness. With TPU 95A, infill changes the mechanical character of the part entirely. This is why importing slicer profiles from your rigid-filament work and printing TPU at 20% “default” infill produces parts that feel arbitrary — the value was right for PLA, but for TPU it lands in a soft middle zone that may or may not match what you wanted.
Treat TPU infill as a primary design parameter rather than a slicer afterthought. Once you internalize that the same 95A filament can deliver everything from rubber-band-soft to nearly-rigid based on infill choice, the filament becomes far more useful. People who keep separate “soft,” “medium,” and “firm” TPU profiles in their slicer get more value out of a single spool than people who treat TPU as one material with one set of settings.
The summary that ties it together
TPU 95A infill percentage is the single biggest knob for perceived flexibility. Pattern (gyroid by default), wall count, and shore hardness are the secondary knobs. Move infill from 5% to 50% in 10% steps and you cover the entire useful range from soft phone case to semi-rigid functional part. Pair the infill with the correct application from the table above, calibrate retraction and pressure advance properly, and a single spool of 95A delivers far more versatility than the spec sheet implies.