OctoPrint Camera Setup: Complete Guide With Timelapse and Failure Detection
Why a camera is the first OctoPrint upgrade worth installing
OctoPrint camera setup is not something I bothered with for my first year of printing, and I regret that more than almost any other decision in this hobby. I resisted putting a camera on my OctoPrint instance for longer than I should have. The turning point was a 14-hour print of a helmet shell that spaghetti-failed at hour three while I was at work. I came home to a tangled hairball, a wasted $9 of PETG, and no way to know when it had started so I could diagnose what had gone wrong. The next weekend a $15 Raspberry Pi Camera Module v1 arrived in the mail and I have not run a long print without a camera feed since.
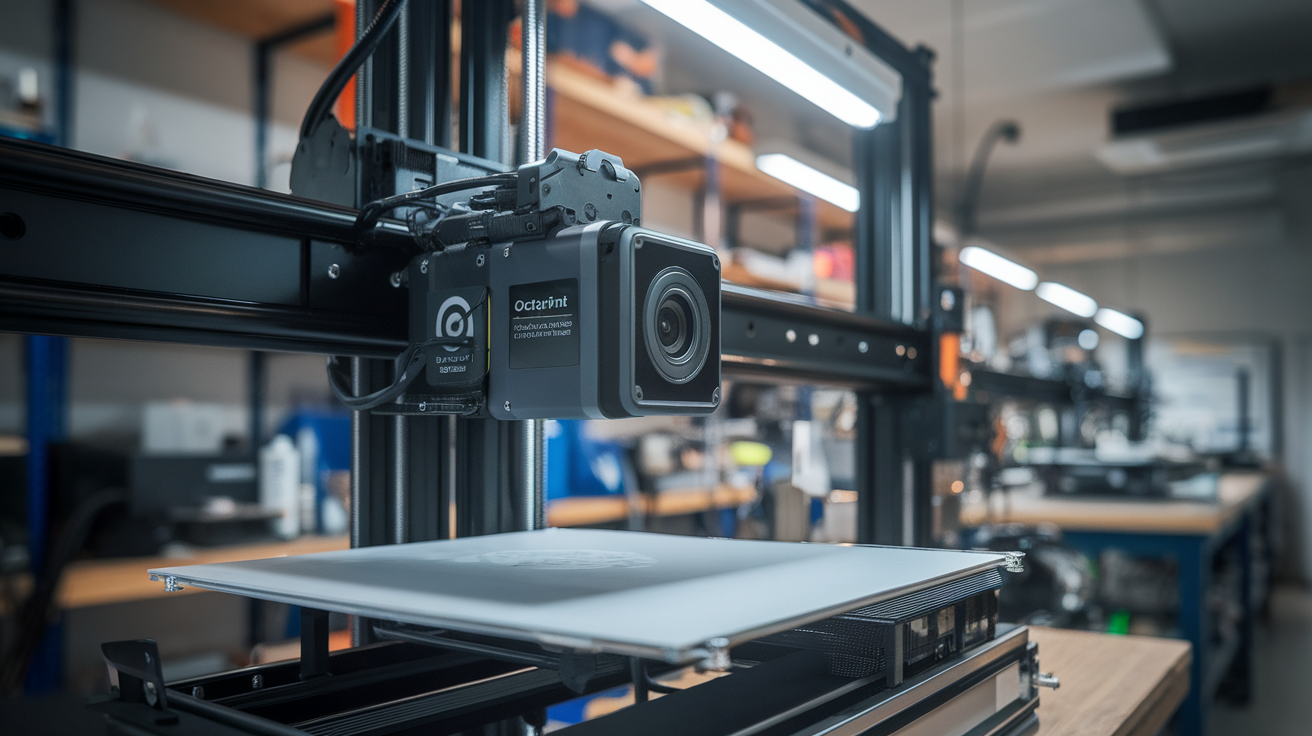
An OctoPrint camera does three things that transform your print monitoring: live preview so you can glance at a print from any device on your network, timelapse recording for inspection and social posts, and — when paired with the Spaghetti Detective plugin or Obico — automated failure detection that can shut off a failing print before it eats a kilogram of filament. Setting all of this up takes 20-30 minutes if you know the steps. This article is those steps.
Camera hardware options in 2026
Three camera categories cover 95% of OctoPrint installs:
- Raspberry Pi Camera Module (v1, v2, v3, or HQ): Ribbon-connected camera, clean integration, best quality for the price. v3 is the 2023-onward default; it has autofocus and handles the enclosed-printer darkness well. HQ Camera is for the “I want macro footage of my extruder” crowd.
- USB webcam: Logitech C270, C920, or any generic UVC-compatible webcam. Plug-and-play — most work without configuration. Lower quality than the Pi Camera Module but the setup is simpler and the camera positions more flexibly.
- ESP32-CAM module: Wireless camera you can place anywhere near the printer. Uses more configuration on the OctoPrint side and image quality is modest. Best for cases where you cannot route cables to the Pi.
My current setup is a Pi Camera Module v3 on the main Voron and a Logitech C920 on the Ender 3 V3 SE. Both work well; the v3 gives noticeably sharper timelapses while the C920 lets me mount it further from the printer.
Step 1: Connect the hardware
For a Raspberry Pi Camera Module:
- Power down the Pi before connecting the ribbon cable. Never hot-plug the camera.
- Orient the ribbon correctly. The blue stiffener goes toward the Ethernet port on the Pi. Reverse it and the camera will simply not register.
- Lock the ribbon latch fully down on both the Pi connector and the camera connector. Loose ribbons cause intermittent disconnects that are brutal to debug.
For a USB webcam:
- Plug the webcam into a USB port directly on the Pi, not through a hub unless the hub is powered. Webcams pull more current than most USB devices.
- Check the kernel recognizes it with
lsusbvia SSH — you should see your webcam listed.
Step 2: Enable the camera interface (OctoPi)
If you are running OctoPi — which you should be for the simplest setup — the camera support is preinstalled. For a Pi Camera Module, confirm the interface is enabled:
- SSH into the Pi:
ssh pi@octopi.local - Run
sudo raspi-config - Navigate to Interface Options → Camera and enable it.
- Reboot the Pi.
For USB webcams, no configuration is needed. OctoPi’s camera-streamer (which replaced the older mjpg-streamer in recent releases) automatically detects connected cameras on boot.
Step 3: Configure the stream URL in OctoPrint
OctoPrint needs two URLs to make the camera work: a stream URL for the live preview and a snapshot URL for timelapses.
- Open the OctoPrint web interface.
- Go to Settings → Webcam & Timelapse.
- Confirm the Stream URL is set — for OctoPi with camera-streamer the default
/webcam/?action=streamworks out of the box. - Confirm the Snapshot URL is
http://127.0.0.1:8080/?action=snapshot(or/webcam/?action=snapshotdepending on your OctoPi version). - Set Path to FFMPEG to
/usr/bin/ffmpeg. - Click Test. A still image from the camera appears if the snapshot URL works.
If the test fails, the most common cause is that the camera service is not running. SSH in and execute sudo systemctl status camera-streamer — if inactive, sudo systemctl start camera-streamer will bring it up.
Step 4: Position the camera for the best timelapse
A good timelapse angle makes the difference between “cool video” and “my mom wants to watch this.” Three proven angles:
- Front-quarter low angle: Camera at bed height, 30-45° off the front-right corner. Shows the print growing with the toolhead moving across it. Best general-purpose view.
- Overhead top-down: Camera above the build volume looking straight down. Clean shot of the top layer forming. Requires mounting to the enclosure ceiling.
- Side profile: Camera level with mid-print height, straight side view. Good for tall prints where growth is dramatic.
For the Pi Camera Module, a Thingiverse search for “Pi camera octoprint mount” has dozens of printable brackets. For a USB webcam, a cheap gooseneck phone holder clamped to the printer frame gives you infinite adjustability.
Step 5: Configure timelapse settings
OctoPrint offers two timelapse modes:
- Timed mode: Captures one frame every N seconds regardless of printer state. Simple but the jitter of the toolhead always in frame.
- Z-hop / layer-change mode: Captures one frame after each layer completes and the toolhead parks. Gives the iconic smooth timelapse where the print appears to grow frame by frame. Requires printer firmware that supports Z-hop on layer change or slicer-injected park commands.
For beginners, start with Timed mode, interval 10 seconds. That produces smooth video without requiring slicer tweaks.
For the polished look, switch to Z-hop mode and add this to your slicer’s “Before Layer Change” G-code:
G1 X0 Y220 F9000 ; park toolhead out of frame
G4 P500 ; hold 500 ms
The Z-hop timelapse will have the print appear to grow without the toolhead ever in view.
Step 6: Enable failure detection (Obico / Spaghetti Detective)
Having a camera is useful. Having a camera plus AI monitoring that can cancel a failing print is transformative. The Spaghetti Detective rebranded to Obico a few years ago and remains the easiest plug-in option:
- Install the Obico plugin via Settings → Plugin Manager → Get More → search “Obico”.
- Create a free account at obico.io (gives you 10 hours per month free; paid tiers remove the cap).
- Link the plugin to your account via the plugin’s setup wizard.
- Run a test print. The Obico service will watch your camera feed and alert you if it detects failure patterns.
In practice the AI detects spaghetti failures about 80% of the time and bed-adhesion failures less reliably. It will not save you from every disaster but it catches enough to pay for itself on avoided filament waste.
Mounting the camera without breaking things
Three mistakes I made early and learned to avoid:
- Do not hot-glue the camera to the printer frame. The frame vibrates. Hot glue fails after thermal cycling. Use a printed bracket bolted or clipped to the frame.
- Do not run the ribbon cable in line with stepper motor wiring. You will pick up interference and get random glitches in your feed. Route the ribbon along a different path.
- Do not mount the camera so close to the hotend that plastic spatter can reach the lens. Seems obvious but I spent 20 minutes cleaning a Pi Camera v2 after a failed first layer sprayed molten PLA across the optics. Keep at least 150 mm clearance from the hotend travel path.
My current mounting approach: a printed arm that clamps onto a frame extrusion, holding the camera 200-300 mm back from the build area at a slight downward angle. Thingiverse or Printables search “camera extrusion mount” has dozens of variants — pick one that matches your frame profile.
Lighting is half the battle
A great camera in dim light still looks bad. Most printer enclosures are dim, so add light:
- LED strip inside the enclosure: 5V USB-powered strip stuck to the inside roof. $5 on Amazon and transforms every camera feed.
- External desk lamp pointed at the build area: Works for open-frame printers like the Ender 3.
- Avoid direct backlighting: A window behind the printer will blow out the exposure. Close the blinds or face the printer away from windows.
Troubleshooting: camera works but preview is blank in OctoPrint
Three common causes, in order of frequency:
- Browser cache. Hard-refresh the OctoPrint page. The stream URL sometimes gets cached as “unreachable.”
- Wrong stream URL. Newer OctoPi uses
/webcam/?action=stream; older installs use the direct porthttp://octopi.local:8080/?action=stream. Try both. - Camera conflict. If Klipper or another service is also trying to access the camera, they will fight. Disable whichever you are not using.
Remote access to your camera feed
If you also followed our OctoPrint remote access guide, your camera feed is exposed through the same secure tunnel. Whether you use Tailscale, OctoEverywhere, or Obico Tunnel, all of them include the webcam stream automatically — no extra configuration. Open your OctoPrint instance from your phone at work and the camera feed comes right along.
Thirty minutes of setup, one $15 camera, and your printer went from a black box to a thing you can actually watch. The first time your phone pings you with a failure detection notification before the print has made a mess on the bed, you will understand why this is the upgrade I tell every OctoPrint user to make first.