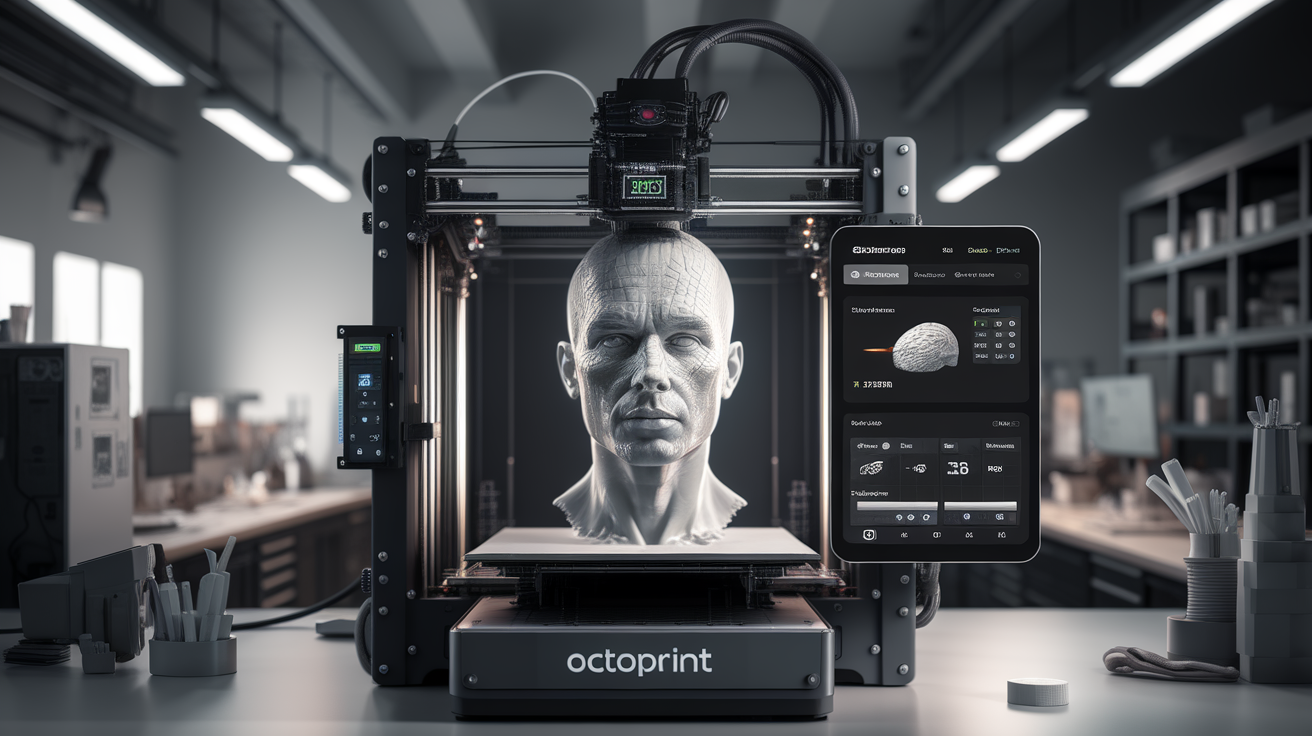
OctoPrint Dashboard Walkthrough: Every Tab, Widget, and Plugin Explained
Meet the OctoPrint dashboard: your new control panel
The first time you log in to a fresh OctoPrint install, the octoprint dashboard can feel either too simple or too cluttered depending on which plugins you imported during setup. Either reaction is normal. The dashboard is deliberately minimalist out of the box and deliberately configurable once you are comfortable. This guide walks through every default tab, every widget, and the handful of plugin widgets almost everyone ends up adding. By the end you will know what each number means, what each button does, and what you can safely ignore until you need it.
I am assuming you have OctoPrint already installed on a Raspberry Pi and connected to your printer. If you do not yet, follow the official OctoPi install first — that part is well documented and takes about fifteen minutes. Everything below starts from the moment you open the dashboard URL in your browser and see the main screen for the first time.
The layout at a glance
The dashboard is divided into three panels. The left panel is file management: upload, browse, delete, print. The right panel is the active job view: what is printing now, temperature graphs, G-code terminal. The top strip is the status and navigation: print progress, connection state, tab switcher, settings gear.
Everything else is inside one of those three zones. No matter how many plugins you add, widgets accumulate in panels rather than floating freely. That structural consistency is what makes the dashboard teachable: learn the three panels and you can extend it without relearning anything.
The left panel: files, folders, and the upload flow
When you hit the plus button and drag a .gcode file into the upload zone, OctoPrint stores it in the uploads directory on the Pi and parses the first 100-200 lines to pull metadata — estimated time, filament usage, slicer name. That metadata populates the thumbnails and the per-file row that shows hover-over details.
Files can live in folders and folders can nest. Right-click any file for a context menu with Load, Print, Download, Delete, Move, and Copy. The difference between Load and Print is small but important. Load parses the file and prepares the printer to start, but waits for you to press the play button. Print starts the job immediately. Use Load when you want to preheat first and verify settings; use Print when you trust the file.
Below the file list is the storage indicator. OctoPrint warns you at 90% full so your prints do not mysteriously fail mid-job because the Pi has no room left for the G-code file. Keep an eye on this number if you have a Pi with an 8 GB SD card and heavy timelapse saves.
The temperature tab: reading the graphs
The temperature panel shows a live rolling graph of the hot end, bed, and chamber if you have one. Two numbers per sensor: target (set point) and actual (current reading). The line you see is the actual, and the dashed line behind it is the target. A stable print has both lines flat and overlapping. A preheating phase has actual climbing to meet target. A heater fault has actual below target with both lines diverging and the error count incrementing.
The most common thing new users miss here is the offset field. If you find your first layer consistently too close or too squished despite a perfect Z offset, check whether a plugin has introduced a temperature offset you forgot about. Similarly, thermal runaway protection in the firmware triggers if actual temperature diverges from target by more than a configured threshold — usually within 15 seconds of a fault. The graph makes this visually obvious after the fact.
Right-click the graph area for options: clear history, export CSV, change time window. The CSV export is underrated for diagnostic work — you can import it into Excel or a quick Python plot and see thermal behaviour across a full print at a resolution no other tool gives you.
The control tab: jogging and macros
The control tab is where you move the printer by hand. Click the home icons to home X, Y, Z, or all. Click the arrows to jog in increments of 0.1, 1, 10, or 100 mm. The increments are at the top of the panel and apply to whichever axis you click next.
Below the axis controls are the extruder buttons: extrude and retract a configurable length, usually 5 mm. You must have the hot end at target temperature first; OctoPrint refuses to extrude cold by default, which has saved a lot of nozzles from damage over the years.
At the bottom of the control tab is the custom command area, populated by the plugin ecosystem. Out of the box you get homing and extrusion. Install the Custom Control Editor plugin and you can add your own buttons — load filament, unload filament, park toolhead, mesh bed leveling. These become single-click operations and remove a surprising amount of daily friction.
The G-code viewer: 2D layer preview and sync
The viewer tab shows a 2D top-down render of the G-code file currently loaded. Drag the slider to preview any layer. During a print, the viewer automatically syncs to the current layer so you can see what the printer is doing at this very second without a webcam.
Two controls matter here. The first is the speed slider that scrubs through layers without following the print. The second is the sync button that re-locks to the current layer. Beginners often drag the slider, lose track of where the print actually is, and then wonder why the preview “froze” — it did not, they just scrolled off the live layer and need to hit sync.
The G-code viewer is also the fastest way to catch slicer errors before you start the print. If you see obvious gaps, missing walls, or overhangs that look wrong, the G-code is broken and no amount of printer tuning will save the part. Fix it in the slicer first.
The terminal tab: direct G-code and firmware dialogue
The terminal is OctoPrint’s raw G-code console. Everything the printer sends and receives scrolls here in real time. The send field at the bottom accepts any G-code or M-code command. If you have ever wanted to run M115 to read firmware identity, M503 to dump EEPROM settings, or G29 to run mesh bed leveling on demand, this is the tab.
The filter checkboxes at the top cut noise: you can hide temperature responses (the flood of ok lines during heating), extrusion acknowledgements, and position updates. The defaults are already sensible for normal work; turn the filters off only when you are debugging a specific problem and need every byte the printer sent.
Right-click any line in the terminal to copy it. For firmware bug reports, the terminal output is usually the first thing a maintainer will ask for. OctoPrint can also log the entire serial stream to a file via the settings gear — useful when you are trying to reproduce an intermittent fault.
The timelapse tab: recording and rendering
The timelapse tab shows a list of completed timelapses and lets you configure a new one. Z-hop trigger is the default: the camera snaps a frame every time the printer lifts the nozzle between layers. This produces the classic smooth timelapse where the part grows and the printer itself seems to vanish, because every frame captures the printer in the same pose.
Tap the settings icon for fine control: FPS, resolution, pre-capture delay, post-capture retraction. The default 25 fps is fine. Bump to 60 fps if you have a fast camera and want cinematic smoothness. Render quality lives in the OctoPrint settings, not per-job — you cannot pick H.264 vs VP9 from the timelapse tab itself.
If you have OctoLapse installed, the timelapse tab gains a second sub-tab with that plugin’s enhanced options: stabilisation, trigger strategies, pose-specific capture. Most people who care about timelapses install OctoLapse and never look at the built-in tab again. Both coexist fine; pick one.
The plugin widgets everyone adds
A stock OctoPrint install is functional but bland. Four plugins show up on almost every dashboard in the community:
- PrintTimeGenius: replaces the default print time estimate with a more accurate one that learns from completed prints. The default estimate is often wildly optimistic for long prints; PrintTimeGenius gets within a few minutes.
- Dashboard: yes, it is a plugin called Dashboard that gives you a single-screen summary view combining every panel. Great for a dedicated touchscreen or second monitor.
- OctoLapse: timelapse on steroids, as discussed.
- Spaghetti Detective / Obico: AI-driven failure detection that pauses or cancels prints when it sees spaghetti forming. Free tier is usable; paid tier is worth it if you run the printer unattended.
Each of these adds its own tab or widget to the dashboard. The layout adapts: tabs shift left, widgets stack vertically inside panels. You can drag tabs to reorder them and hide tabs you never use in settings.
Customising the layout without breaking anything
The gear icon in the top right opens Settings. Under Appearance, you can rename the printer, change the accent colour, and pick from a handful of themes — dark mode is built in. Under Interface, you can enable or disable individual tabs: if you never use the Timelapse tab, hide it and the dashboard shrinks back to essentials.
Tabs and panels remember their state per-user. If multiple people log in (OctoPrint supports users via access controls), each sees their own layout. This matters in a small shop where one person sets up prints and another monitors them — both can have the dashboard their way.
Dashboard-as-first-step for every OctoPrint task
Once the dashboard feels familiar, everything else in OctoPrint becomes discoverable through it. Plugins add to the existing panels. The API that third-party apps use reflects exactly what the dashboard shows. Most advanced workflows — filament sensors, automatic bed tramming, webhooks to Home Assistant — add widgets to the dashboard rather than hiding in settings menus. Mastering the dashboard is mastering the product, and the learning curve flattens quickly once the three-panel mental model clicks.