Vase Mode in Cura: How to Enable It, Wall Thickness, and the Settings That Actually Matter
What vase mode actually is, behind the marketing names
Slicers each call this feature something different. Cura calls it “Spiralize Outer Contour.” PrusaSlicer calls it “Spiral Vase.” Bambu Studio calls it “Spiral Mode.” All three do the same thing. Vase mode in Cura tells the slicer to print a single continuous outer wall in a smooth upward spiral instead of layer-by-layer, while completely disabling top layers and infill. The print head never lifts to start a new layer because there are no layers in the conventional sense — there is one helical tool path from the first layer to the last, with the Z axis rising continuously rather than in steps.
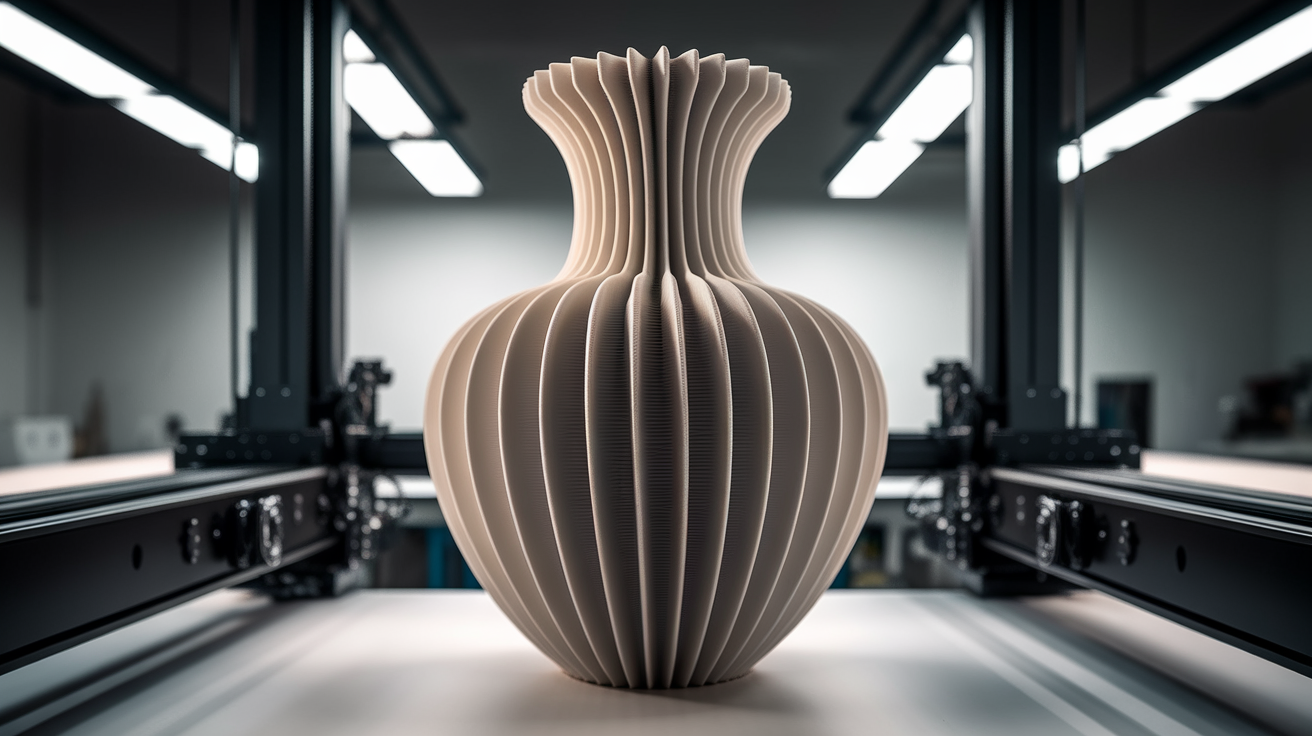
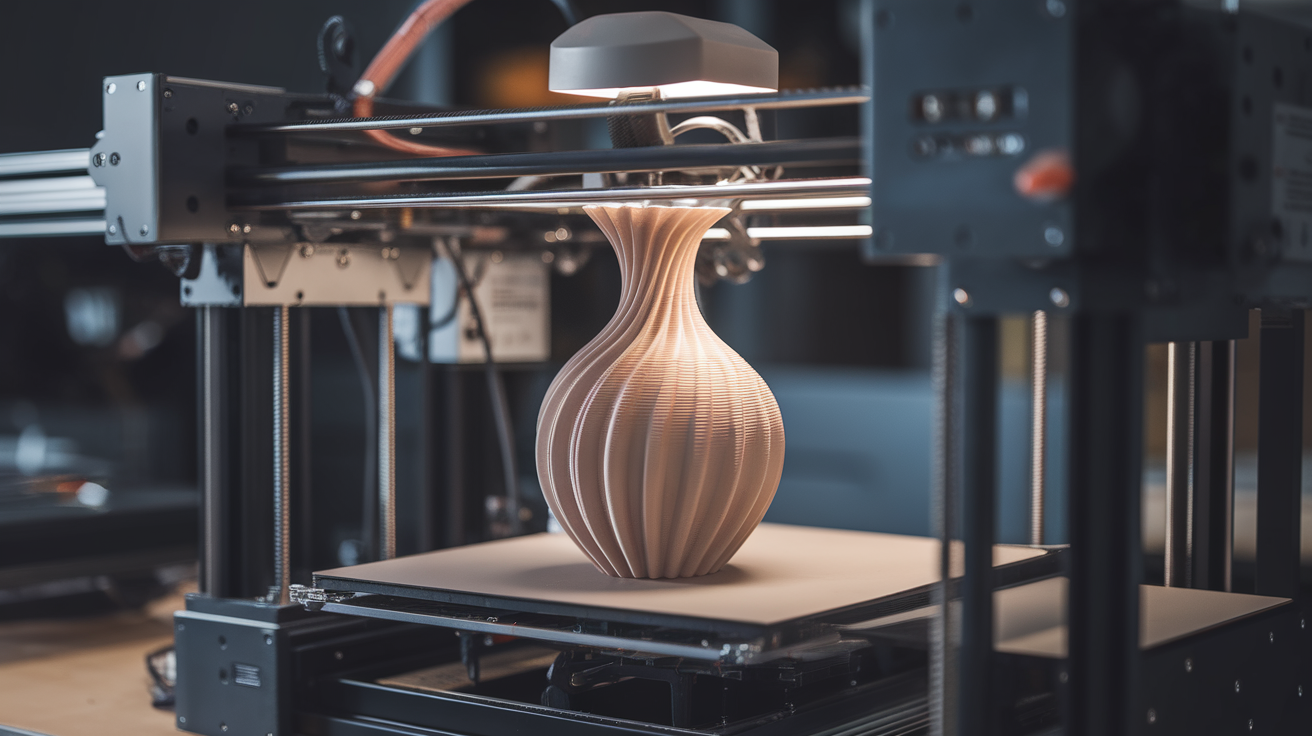
The result is a single-wall print with no internal structure and no top. Vases, lampshades, planters, decorative bowls, and certain cosplay shells all benefit from vase mode. The print finishes in roughly half the time of a normal print of the same model because there is no perimeter-then-infill movement. The surface comes out cleaner than normal mode because there are no layer-change Z-seam dots running up the side of the print. And the part uses dramatically less filament — typically 30-50% of what a normal print of the same model would use.
The cost is that the resulting part has only one wall, so it is fragile compared to a normal print. A vase mode print will hold flowers and water just fine but will crush if you sit on it. This trade — speed and aesthetics in exchange for rigidity — is what makes vase mode the right tool for some prints and the wrong tool for others.
How to enable vase mode in Cura, step by step
Open Cura. Load the model you want to print as a vase. With the model selected, open the print settings panel. The setting you need is buried in a category called “Special Modes” at the bottom of the settings list. By default it is hidden because it is a niche feature. Right-click any setting in the panel and choose “Configure setting visibility,” then enable “Spiralize Outer Contour” and “Smooth Spiralized Contours.” Both should now appear under Special Modes.
Enable Spiralize Outer Contour. The slicer will warn you that infill, top layers, and several other features will be ignored. Accept the warning. Optionally enable Smooth Spiralized Contours, which performs a small Z-axis interpolation between adjacent contour points to reduce visible Z-banding on the outer wall. For most prints this is worth enabling.
Slice the model. Look at the preview. The toolpath should show a single continuous spiral from bottom to top with no layer changes, no infill, no top. If you see flat layer changes or any infill in the preview, vase mode is not actually engaged — most often this happens because the model has multiple disconnected outer contours and Cura cannot spiralize all of them at once. Vase mode only works on models with a single continuous outer perimeter; multi-wall vases need to be merged in the modelling software first.
Wall thickness and the single setting that matters most
In normal printing, wall thickness is determined by line width and number of perimeters. In vase mode, there is exactly one perimeter, so wall thickness equals line width. The default 0.4mm nozzle produces a 0.4mm wall in vase mode unless you change line width.
The trick that makes vase mode prints durable enough for daily use is increasing line width to 0.8mm or 1.0mm with a 0.4mm nozzle. The slicer extrudes more filament per movement, the wall comes out twice as thick, and the print is twice as rigid for almost no time penalty. This works because line width can exceed nozzle diameter — the molten extrusion squishes outward as it leaves the nozzle, and you can deliberately push it wider by feeding more material. The limit is around 2x nozzle diameter; beyond that the extrusion becomes inconsistent.
For 0.6mm and 0.8mm nozzles, vase mode produces correspondingly thicker walls without changing line width. A 0.8mm nozzle with default settings prints a vase mode wall around 0.8mm thick, which is rigid enough for most decorative use. Many vase-mode-enthusiast users keep a dedicated 0.8mm hardened nozzle just for this purpose because it converts vase mode from a cute aesthetic effect to a genuinely useful production technique.
Layer height in vase mode is not really layer height
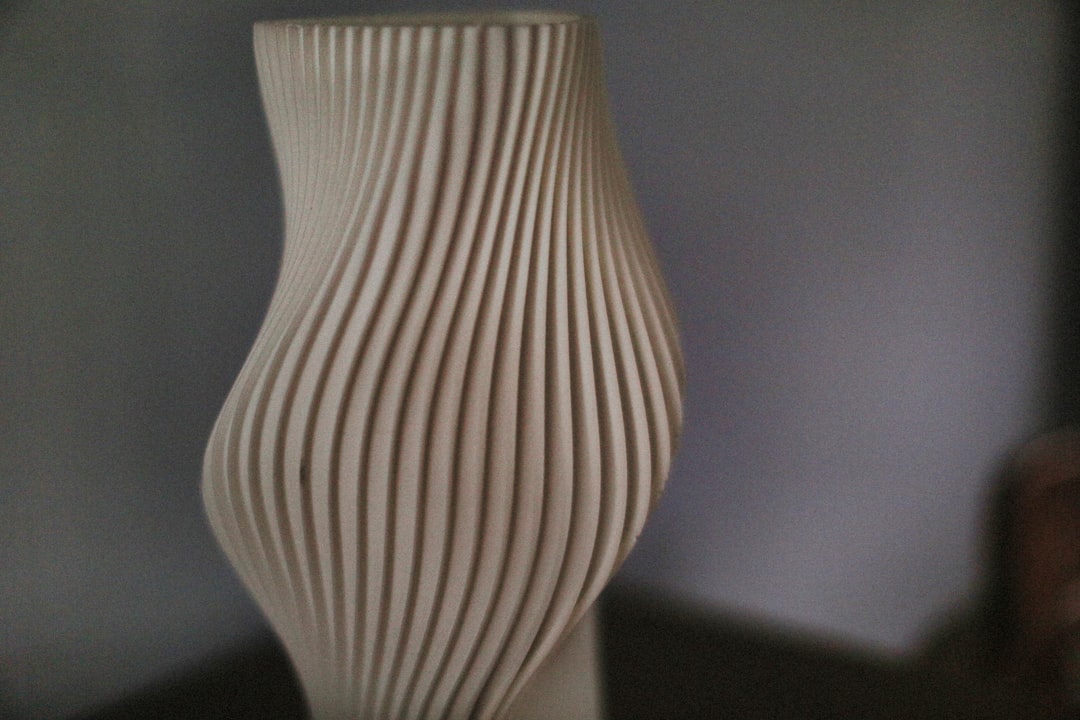
The setting Cura calls “layer height” in vase mode is the Z-axis distance per full revolution of the spiral. A 0.20mm layer height means the print rises 0.20mm every time the toolhead completes one loop around the model. Higher values (0.30mm, 0.40mm) print faster and produce visibly more pronounced helix lines on the surface. Lower values (0.12mm, 0.10mm) print slower with smoother surfaces.
The right value depends on what the print is for. For decorative vases that will be viewed from a distance of more than a metre, 0.30mm layers are fine and the surface still reads as smooth. For lampshades that will be viewed close-up with light shining through, 0.16mm layers eliminate visible banding. For cosplay shells where you will paint over the surface, 0.28mm is the sweet spot — fast enough to get the print done, clean enough that primer covers any visible lines.
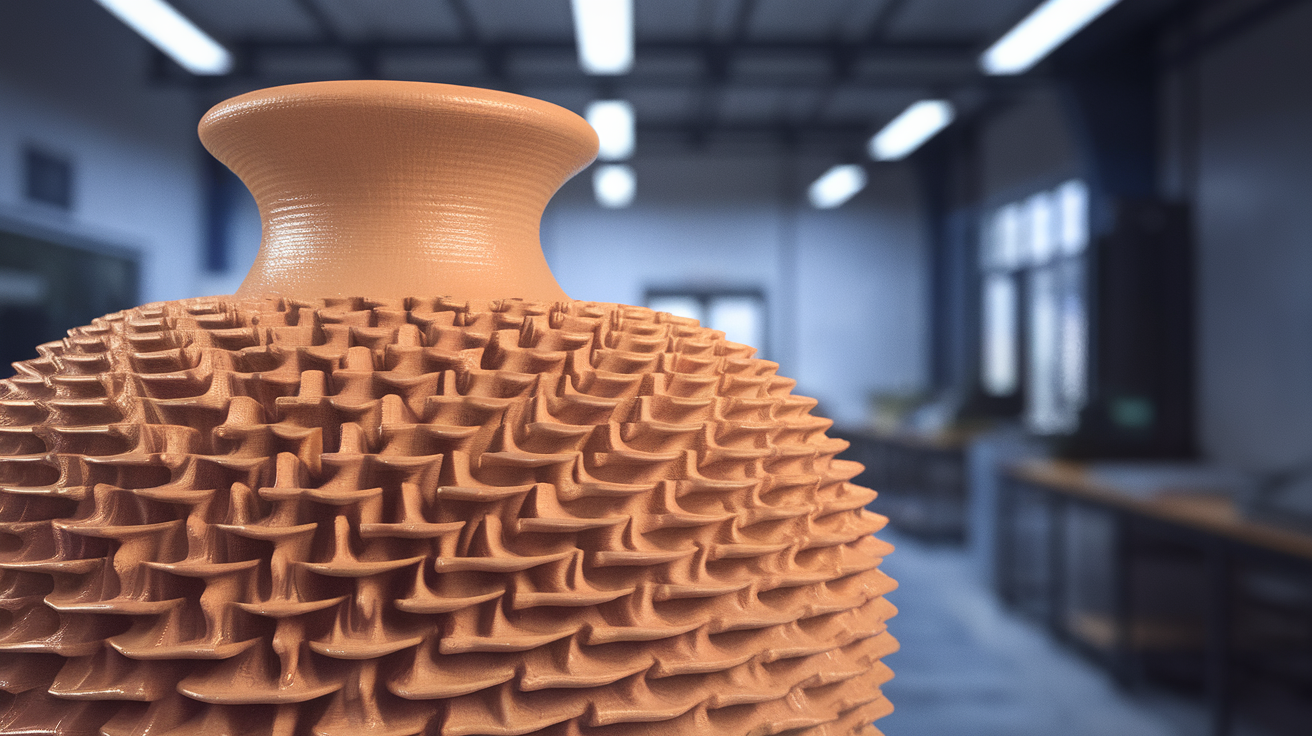
One subtle interaction: at high layer heights with thin walls, the spiralized helix may not bond reliably to the previous loop because the contact area is small. Increase line width before increasing layer height. A 1.0mm wide / 0.40mm tall vase mode loop bonds far better than a 0.4mm wide / 0.40mm tall loop, even though both finish in roughly the same time.
Why your vase mode print has a seam (and how to remove it)
The most common complaint about vase mode is a visible seam line running up one side of the print. This happens because the slicer has to start the spiral somewhere, and the start point is a small Z-axis discontinuity. Cura’s default behaviour places this seam at the model’s “back” — the first vertex in the imported geometry — and the seam shows as a small ridge or line on every print.
To minimise the seam, enable “Smooth Spiralized Contours” — this interpolates the start position so the visual ridge becomes a gradient rather than a sharp line. Set “Z Seam Alignment” to “Random” if your model is symmetric, which spreads the seam artefact across many small spots rather than concentrating it on one line. If the model has a natural feature that can hide a seam — a leaf, a corner, a handle — manually set the seam position to that feature using Cura’s “User Specified” Z-seam setting and clicking the desired location on the model.
For prints where seam visibility matters absolutely (lampshades, glass-effect display vases), the cleanest solution is to print the model normally with three perimeters and zero infill rather than using vase mode. The result has no seam at all because the Z movement is hidden inside layer changes that cycle around the perimeter. The print takes longer and uses more material but the surface is genuinely seamless.
Models that work in vase mode and ones that do not
Vase mode requires a single continuous outer contour at every height. Models that meet this criterion: tapered vases, bowls, planters, lampshades, wave-shaped decoration, single-walled cylinders, twisted spirals. Models that do not: anything with handles, anything with multiple separate walls at the same height, anything with internal features, anything with overhanging branches that are not connected to the main body at every layer.
Slicer behaviour on incompatible models varies. Cura usually falls back to normal slicing silently and you only notice when the print finishes and has a top, infill, and seams. PrusaSlicer warns explicitly. Bambu Studio refuses to slice and asks you to re-design the model. The Cura behaviour catches users off guard most often, which is why checking the slicing preview before printing is so important — if the preview shows infill or layer changes, vase mode is not actually engaged on that model.
Models from Thingiverse, Printables, and MakerWorld that are explicitly tagged “vase mode” are designed for this constraint. Models tagged for normal printing usually do not work in vase mode without modification. The fastest workflow if you want to vase-print a model originally designed for normal printing is to open the model in a CAD tool, hollow it out, remove handles or attached decorations, and re-export as STL.
Filament choice changes vase mode results more than other settings
PLA is the standard vase mode filament because it bonds well between loops, holds detail, and produces clean surfaces. Standard PLA at 215°C nozzle and 60°C bed prints vase mode reliably with default settings.
PETG works well in vase mode but requires slower print speeds (40-60 mm/s rather than PLA’s 80-150) because PETG flows more slowly out of the nozzle and a fast vase-mode loop will have under-extrusion gaps between adjacent loops. PETG vase prints come out glossier than PLA and resist sunlight better, making it the right choice for outdoor planters or window-facing pieces.
Silk PLA, glow-in-the-dark PLA, and other speciality filaments all work in vase mode and the spiral-only structure showcases their visual properties unusually well. A silk PLA vase looks dramatically different from a normal-printed silk PLA part because the long uninterrupted toolpath produces no Z-seam discontinuities to break up the silk-effect surface. This is why vase mode is the de-facto standard for showing off speciality filaments — the technique brings out properties that normal printing hides.
TPU and flexible filaments can be vase-printed but the results are usually disappointing. Flexible vase-mode parts deform under their own weight and the single-wall structure has no rigidity to hold shape. Skip vase mode for flexibles unless you specifically want a floppy decorative object. The best results come from rigid filaments where the single-wall geometry can hold the print’s intended shape, and PLA in its many speciality variants is exactly the right tool — vase mode and PLA were practically made for each other.