Best 3D Printer for Cosplay Armor in 2026: Build Volume, Materials, and the Workflow That Actually Works
Why cosplay armor is a different printing problem from cosplay props
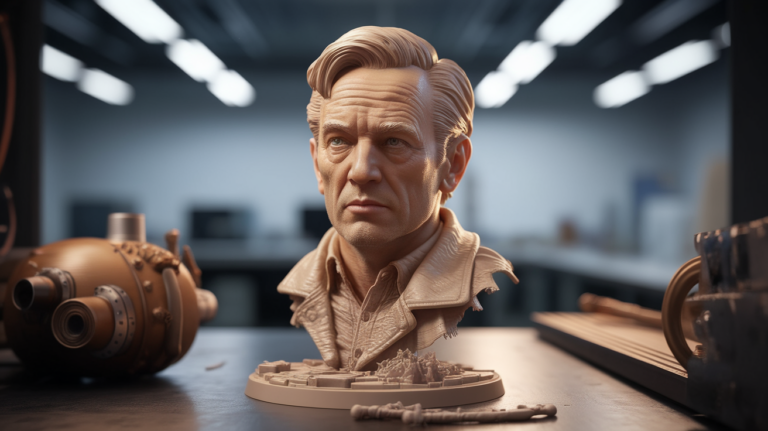
Cosplay armor and cosplay props look similar from the outside but they are different printing problems. A prop — a sword, a wand, a helmet horn — is a single object printed in one or two pieces, painted, and held in the hand. A 3d printer for cosplay armor has to handle large curved panels that wrap around a body, layered shell pieces that interlock, and surface finishes smooth enough to read as metal or leather under stage lighting. The build volume that works for props is too small for armor. The print speed that works for props is too slow for armor. And the materials that paint well on props warp on armor because the panels are thinner and longer.
This guide is specifically about the printer choice for full-body armor sets — chest plates, pauldrons, vambraces, leg greaves, and helmet pieces in proportion. It is not about prop printing, which the site already covers. If you are buying one printer to do both, your decision is constrained by the armor problem because props print fine on any reasonable machine but armor only prints well on machines that meet specific requirements.
The build volume threshold and why it matters
The minimum useful build volume for cosplay armor is 250 x 250 mm in plan and 250 mm tall. Below that, you spend the entire build splitting panels into three or four pieces and re-joining them with glue and sanded seams. The seams show on stage. The seams break in transport. The seams add hours of finishing work to every panel. A 220mm Ender 3 can print armor but it makes you do triple the post-processing.
The sweet spot is 300 x 300 x 300 or 350 x 350 x 350. At this size most armor pieces — including a full chest plate front in one print, a typical pauldron in one print, vambrace and greave panels in one print — fit without splitting. The exception is the helmet, which usually splits into two halves regardless of printer size because of the dome geometry.
Going above 400mm rarely helps for armor specifically. The largest single armor pieces — an oversized fantasy chest plate — fit at 350mm. Above that you are paying for build volume you only use for props you could print smaller. Several cosplay creators interviewed for this guide described their workflow as: 350mm machine for armor, 220mm machine for everything else. The two-printer split is more efficient than one large machine doing both.
Material requirements: PLA-Plus, PETG, or ABS for armor
Standard PLA prints fine but is too brittle for armor that has to flex slightly when you put it on or take it off. PLA-Plus (also called PLA+ or PLA-Pro depending on brand) is the cosplay default in 2026: it prints as easily as PLA, holds detail equally well, and has 30-50% better impact resistance and slightly more flex. Polymaker PolyMax, eSun PLA+, and Sunlu PLA+ all work well. Cost is around $25 per kilogram, slightly more than basic PLA.
PETG is the alternative for armor that has to take real abuse — convention floor armor that gets bumped, fight-choreography armor that gets hit. PETG bonds well between layers and resists impact better than PLA-Plus. The downside is that PETG is harder to sand smooth (it gums up sandpaper) and harder to paint without primer. For armor that will be heavily finished and painted, PLA-Plus is easier; for armor that needs durability over appearance, PETG is the right choice.
ABS prints the most durable armor and accepts acetone smoothing for a glassy surface, but ABS warps badly on large flat panels unless you have a fully enclosed printer with a heated chamber. Most $1500-and-under printers do not provide that level of thermal control for the panels armor needs. Skip ABS unless you have explicitly invested in an enclosed CoreXY with chamber heating, or accept that you will reprint a lot of warped panels.
ASA is similar to ABS but UV-stable, which matters for outdoor convention use. Same warping risk. Same printer requirements. Same conclusion: only viable on a properly enclosed machine.
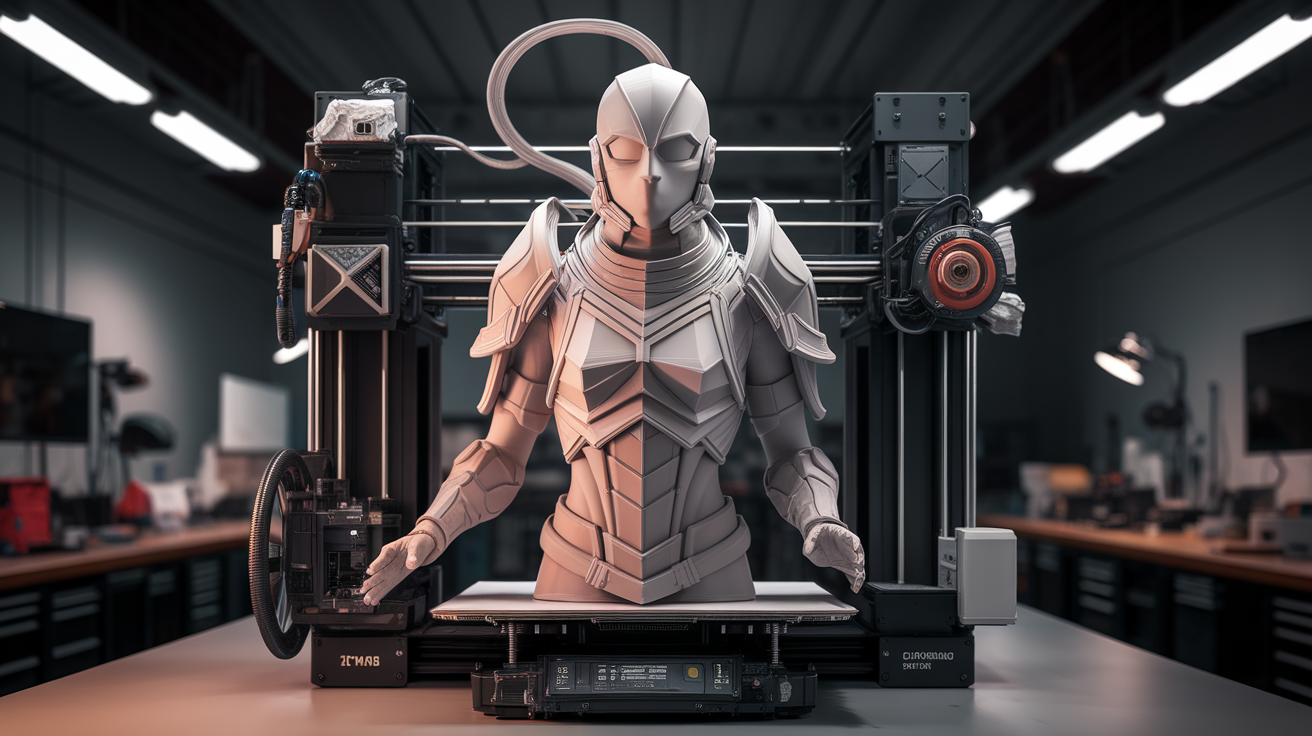
Print speed and why it changes the printer choice
Cosplay armor prints take time. A full chest plate at 0.28mm layers, 60% infill, with brim, takes 18-30 hours on a slow bedslinger and 8-14 hours on a fast CoreXY. A full armor set is six to ten such pieces. The cumulative print time on a slow printer is 100-200 hours; on a fast printer it is 50-90 hours. For a convention deadline, this difference is the difference between “barely finished in time” and “finished a week early with time to paint properly.”
This is why most working cosplay creators use CoreXY printers despite the higher up-front cost. The Bambu Lab P1S (256mm), the QIDI X-Max 3 (325mm), and the Creality K2 Plus (350mm) are the three most-recommended machines in cosplay communities in 2026. All three combine a usable build volume with sustained print speeds of 200-300 mm/s, which means a chest plate finishes overnight rather than over two days.
Bedslingers are still viable. A Prusa MK4 with the optional 350mm bed (sold as the Prusa XL upgrade) prints great cosplay armor; it just takes longer. For a hobbyist with no convention deadlines, the lower up-front cost of a Prusa or Creality bedslinger is fine. For anyone making cosplay for income or competing in major contests with hard deadlines, the speed of a CoreXY is worth the price difference.
The four printers most cosplay creators recommend in 2026
The Bambu Lab P1S ($699) is the entry-level CoreXY recommendation. 256 x 256 x 256 build volume — small for armor but workable if you split larger pieces — with full enclosure for ABS and reliable Bambu cloud workflow. Most cosplay creators who use it eventually upgrade to a larger machine, but the P1S is a great first cosplay-grade printer.
The QIDI X-Max 3 ($999) is the strongest 300mm-class option. 325 x 325 x 315 enclosed build, reaches chamber temperatures suitable for ABS, and prints at 250 mm/s reliably. The full armor set fits without major splitting. This is the printer most cosplay-focused YouTubers reviewed positively in 2025-2026.
The Creality K2 Plus ($1499) takes the QIDI’s pitch and pushes the build volume to 350 x 350 x 350. Slightly more polished firmware, slightly better customer support, slightly more expensive. The extra 25mm per axis is genuinely useful for over-sized fantasy armor designs. If budget allows, the K2 Plus is the easier daily-driver of the three.
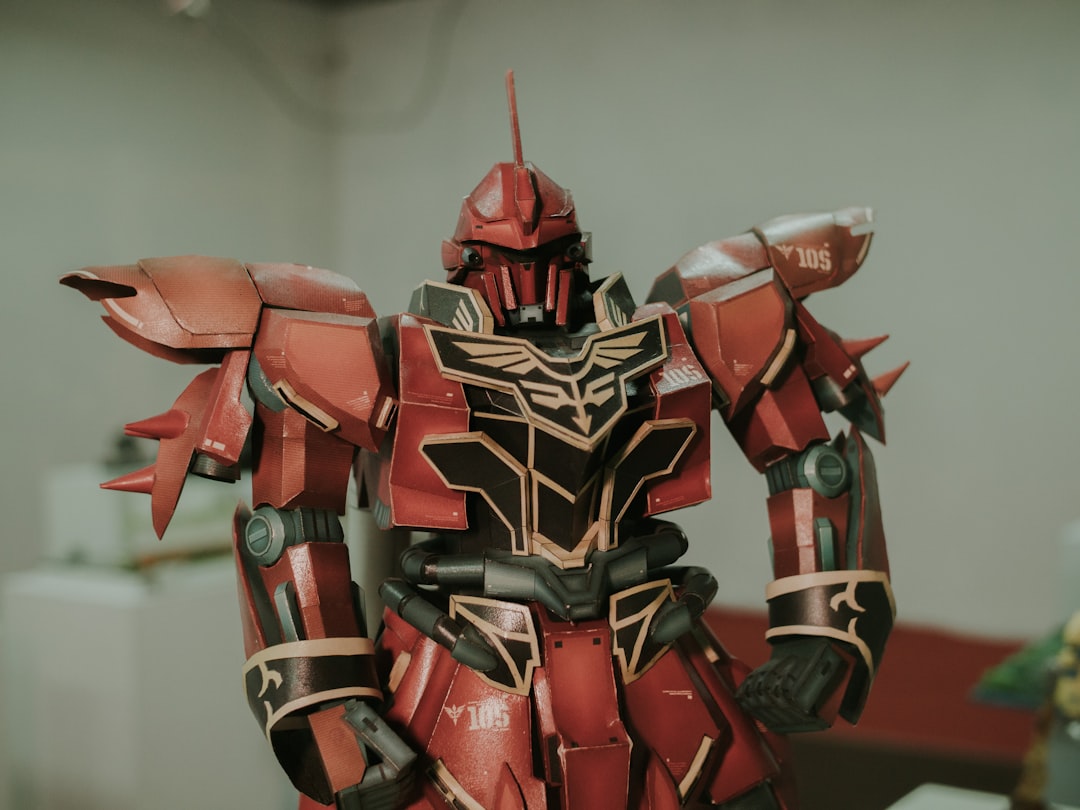
The Prusa XL ($2999 with single tool head) is the premium option. 360 x 360 x 360 build volume, no chamber heating but excellent open-frame quality, and the optional five-tool changer for multi-colour armor without filament swaps. Cost rules it out for most hobbyists. For cosplay studios producing client work it is the right tool.
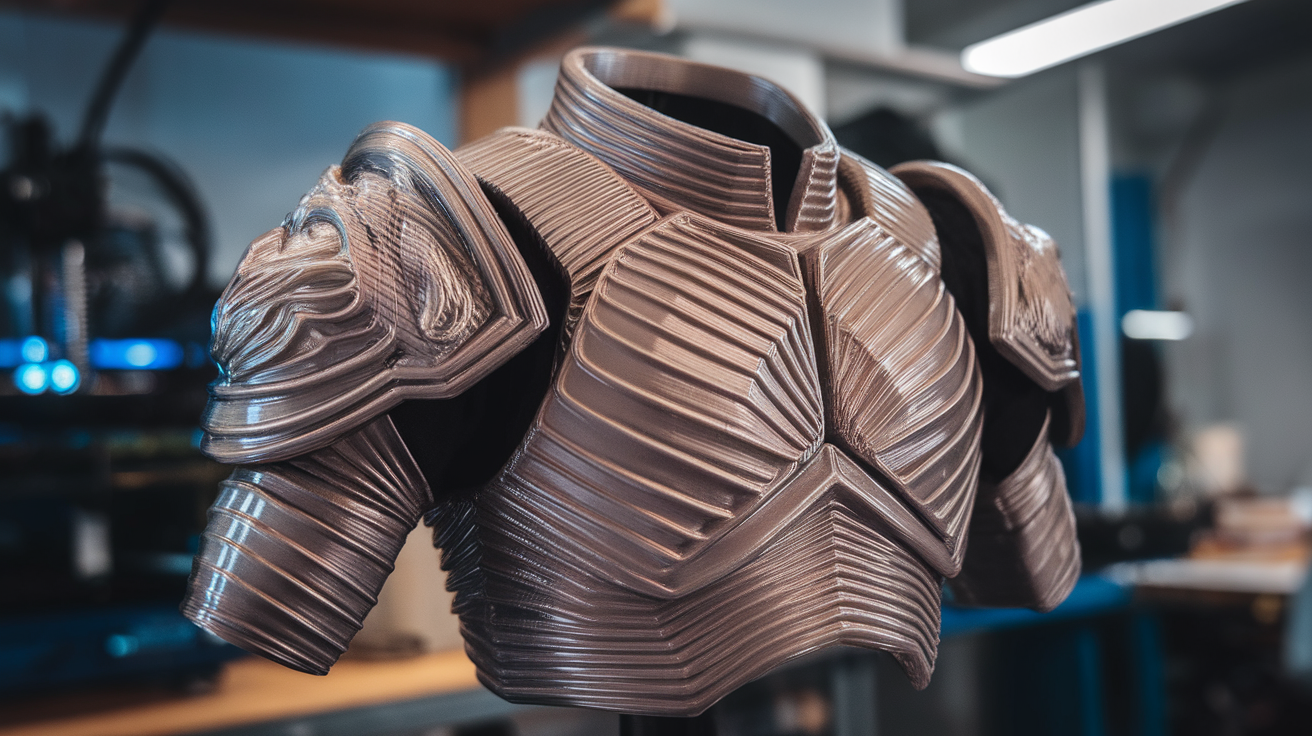
Workflow tricks that separate amateur and professional armor prints
The first trick is orient panels to put the cleanest face down on the bed. Armor panels have a “show side” that will face the audience and a “skin side” that touches your body and never gets seen. Print orientation should put the show side facing up so it ends up on top layers, which are always cleaner than the bottom-most layer touching the build plate. The skin side gets the brim or any support marks; the show side stays pristine.
The second trick is print at 0.28mm layer height for armor and accept the visible layer lines. 0.20mm or 0.16mm produces smoother layer lines but takes 50-100% longer to print, and either way you will sand and paint over the surface. The 0.28mm layer becomes invisible after one round of XTC-3D resin coating and one round of sanding. Higher resolutions are wasted effort on armor specifically.
The third trick is print interlocking joinery into the panels themselves rather than gluing them together later. Modern cosplay slicer workflows include Bambu Studio’s “join cuts” feature and PrusaSlicer’s “split cuts with connectors” — both let you slice a large model into smaller printable parts that snap together with built-in dovetail joints. The result is significantly more durable than glued seams and survives transit better.
Finishing supplies and the time budget no one warns you about
Print time is half the project. Finishing time — sanding, filler primer, sanding again, paint, weathering, sealing — is the other half. A typical armor set takes the same time to finish as it took to print. If your printer takes 80 hours to produce the armor pieces, you should budget another 80 hours of finishing across two to three weeks of evenings.
The supplies that work in 2026: XTC-3D smoothing resin or Smooth-On equivalents for layer-line elimination, Rust-Oleum 2X primer for paint adhesion, water-based metallic paints for the metal-look finishes that read well on stage, and a matte topcoat to kill plastic shine. Acrylic paints work on PLA-Plus and PETG; do not use spray paint with strong solvents directly on PLA without primer because the solvent will craze the surface. Total finishing supply cost for a full armor set is around $80-120 in 2026.
Buying advice when you only have one shot
If you are buying one printer for cosplay armor and you have not used 3D printing before, the QIDI X-Max 3 is the best single recommendation. It is large enough, fast enough, enclosed enough for occasional ABS work, and forgiving enough for new users. The Bambu P1S is cheaper and easier to learn but you will outgrow the build volume within two armor projects. The Prusa XL is overkill if you are not already an experienced 3D printing user.
If you have an existing small printer and want a second machine for armor, skip the entry tier and buy the QIDI or larger. Two small printers do not equal one medium printer for armor work because the seam problem stays the same regardless of how many small machines you have running in parallel. Bigger build volume is the single most valuable upgrade for armor specifically, and it is worth budgeting for it once rather than ending up with three printers that each split armor into too many pieces.