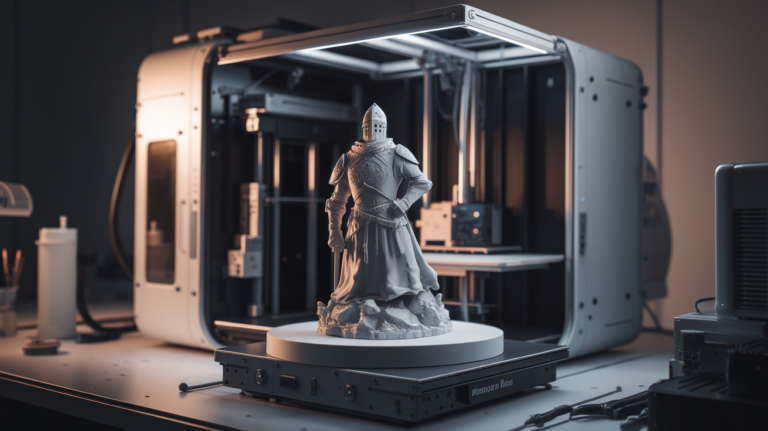
3D Printer Flow Factory in 2026: Bambu Studio’s Auto Flow-Rate Calibration Explained
What FlowFactory actually is, and why it matters in 2026
FlowFactory is the automated flow-rate calibration tool that ships inside Bambu Studio and now appears in third-party slicer forks. The name confuses new users because the older, manual flow-rate calibration procedure is still documented in dozens of older tutorials. The two are not the same. Manual flow calibration measures a single hollow cube and asks you to eyeball the wall thickness with calipers. FlowFactory prints a multi-pass test pattern that varies extrusion multiplier across nine or twelve cells in a single print, then asks you to pick the cell with the cleanest top surface. Same goal, different procedure, dramatically better repeatability for a beginner.
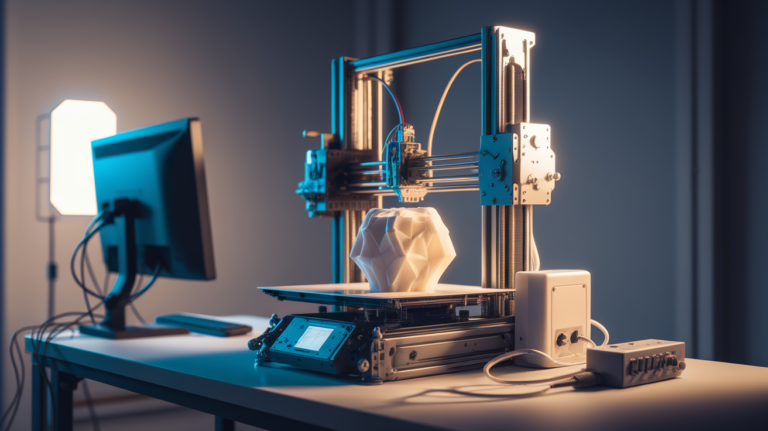
If you bought a Bambu Lab printer in the last year, FlowFactory has been quietly running every time you load a new spool of filament. The printer auto-calibrates flow rate as part of the AMS or external spool detection routine. For users on Prusa, Voron, Ender, and other open machines who slice with Bambu Studio, the same workflow is available manually through the calibration menu. This article walks through the manual workflow and explains how to interpret the result, because the auto-routine on Bambu printers does not always pick the right value when filament behaviour deviates from the cloud database expectations.
The reason FlowFactory matters more in 2026 than it did in 2023 is print speed. At 60-100 mm/s a flow rate that is 5% off produces a barely visible ridge on the top surface that many users never notice. At 250-400 mm/s the same 5% error produces obvious gaps, ridges, or pillowing on every flat surface. Higher speeds expose flow-rate calibration as the single largest variable affecting top-surface quality, which is why a tool that calibrates it in a single five-minute test is worth understanding.
What flow rate actually controls under the hood
The slicer calculates an extrusion volume for every G-code line based on layer height, line width, and movement distance. Flow rate (also called extrusion multiplier) is a percentage applied on top of that calculation. At 100% flow rate the printer extrudes exactly what the slicer asked for. At 95% flow it extrudes slightly less, leaving small gaps between adjacent extrusion paths. At 105% it extrudes slightly more, producing visible ridges and over-extrusion artefacts.
The right flow rate value is determined by physical realities the slicer cannot measure: filament diameter variability (1.74-1.76mm spools labelled as 1.75mm), filament density (heavy carbon-loaded blends versus standard PLA), nozzle temperature stability, and even ambient humidity affecting filament behaviour. Every spool has a slightly different correct flow rate. Most are within 95-103% of nominal; outliers reach 92% or 107%.
FlowFactory’s job is to find that number for the specific spool sitting in your printer right now. Because the test runs in a single print at constant settings except for flow rate, every variable except the one you are calibrating is held identical across cells. This is why the result is more repeatable than manual cube-and-caliper measurements, where you also accidentally measure your own consistency in placing the calipers.
The five-minute manual workflow
Open Bambu Studio. Load the project for the filament you want to calibrate. From the Calibration menu, choose Flow Rate Calibration. Select the filament profile that matches your physical spool — generic PLA, generic PETG, your specific brand, whatever is closest. Click “Calibration Pass 1” and start the print. The pattern that prints is a 3 x 3 grid of small flat squares; each cell prints at a different flow rate. The exact range depends on whether you are calibrating from a known-good starting point or from scratch.
Total print time for Pass 1 is around six minutes on a Bambu printer at default speeds, eight to ten on slower open-frame machines. Once it finishes, examine each square in good light. The correct cell is the one with the cleanest, most uniform top surface — no gaps, no ridges, no pillowing, no shiny over-extruded patches. Write down the percentage value of that cell.
Run Pass 2 with the Pass 1 number as the new centre point. Pass 2 narrows the range to a half-percent grid around the Pass 1 result. Pick the best cell again. That number is your final flow rate for this spool. Save it to the filament profile (right-click the filament in the slicer, Modify Profile, paste the number into Flow Ratio). The whole workflow takes about fifteen minutes including print time and visual inspection.
Reading the test print without being fooled by lighting
The biggest beginner mistake is grading the cells under bad light. Daylight or a bright LED panel works. Yellow tungsten light hides surface ridges. Phone-camera flash produces weird shadows. Pick up the test print, hold it under a strong even light source, and look across the top at a low angle. Surface defects show up as glints or matte patches.
The correct cell has a top surface that looks uniform and slightly satin. Cells with lower flow rates show parallel grooves where adjacent extrusion lines fail to merge. Cells with higher flow rates show shiny ridges or “pillowing” — small dome-like bulges where the filament has been crammed into a space that cannot hold it. The transition between these defects is sharp; the correct cell is usually obvious and the cells on either side are obviously wrong.
For dark filaments — black PLA, dark grey PETG — the visual contrast is poor and the test is harder to grade. Some users tape a small light at a low angle to amplify the surface texture before judging. Others print the test pattern in a brighter colour from the same brand because flow-rate behaviour is mostly consistent across colours within a single manufacturer’s lineup. Both tricks work; pick the one that fits your workflow.
Saving the calibrated value and applying it correctly
Bambu Studio stores flow rate per filament profile, not globally. After calibrating a spool, you save the number into the filament profile for that specific brand and material. Next time you load that filament, the saved value is used automatically. If you switch brands within the same material family — generic PLA to Polymaker PLA, for example — calibrate again because the values often differ by 1-2 percentage points.
One subtle trap: if you calibrate at one nozzle temperature and then change temperature for the actual print, the flow rate changes too. Filament viscosity is temperature-dependent. A flow rate calibrated at 215°C may be 1-2% off at 230°C. For prints that span a wide temperature range (different layers at different temperatures, common with dual-material prints), pick the temperature you will use most and accept small errors at the others.
For users running Klipper or RepRapFirmware on non-Bambu printers, the FlowFactory calibration values transfer directly. Set the saved flow ratio in your slicer profile and the G-code output respects it regardless of what firmware runs the printer. The calibration is a property of the filament and the slicer profile, not a printer feature.
Where FlowFactory falls short
FlowFactory is calibrated for 0.4mm nozzles printing standard layer heights (0.16-0.28mm). At 0.6mm or 0.8mm nozzles, the cells in the test pattern are not granular enough to find the right flow rate; you usually need a custom calibration pattern with wider line widths. At very fine 0.08mm layers, the test cells are too small to evaluate visually and you should calibrate at 0.20mm and trust that the value transfers (it usually does, with errors under 1%).
Flexible filaments — TPU 95A and softer — do not respond well to FlowFactory because the test relies on precise extrusion timing that flexible filaments cannot deliver. For TPU, calibrate flow rate manually using the older single-cube-with-calipers method, which despite being less repeatable is more tolerant of the noise that flexible filaments introduce.
Carbon-fibre and glass-fibre reinforced filaments often produce noisy test prints because the abrasive fillers do not extrude as smoothly as plain polymers. Run two FlowFactory passes and average the results, or run the test at a slower print speed (60 mm/s) to reduce the noise floor. The technique works on these filaments, just not as cleanly as on plain PLA.
FlowFactory versus Klipper’s pressure advance, and why both matter
FlowFactory calibrates how much filament leaves the nozzle. Pressure advance calibrates the timing of that flow at the start and end of each line. They are independent variables and both need calibration for clean prints at high speeds. The order matters: calibrate flow rate first, then pressure advance, then redo flow rate if you significantly changed extrusion behaviour.
Pressure advance lives in Klipper or Marlin firmware (Marlin calls it linear advance) and does not have a Bambu Studio FlowFactory equivalent — Bambu Lab uses a proprietary equivalent baked into the printer firmware that is not user-tunable in the same way. For Voron and Ender users running Klipper, pressure advance calibration is a separate twenty-minute procedure that complements FlowFactory. For Bambu users, it is mostly invisible and handled automatically.
When you can skip flow calibration entirely
If you only print one filament, you bought it from a major brand with a profile already in your slicer, and you print at moderate speeds (under 150 mm/s), the default flow ratio of 100% is usually within 1-2% of correct and the resulting surface defects are minor or invisible. New users who are still learning the rest of the workflow are better off accepting the small calibration error and focusing on bed adhesion, retraction, and other variables with larger impact on print success.
Calibration matters most when print speed is high, when filament brand is exotic, when surface finish is the goal (top covers, lithophanes, miniature flat areas), or when you are chasing the last 5% of print quality on a tuned machine. For functional prints where dimensional accuracy is what counts, flow rate is less important than line width consistency and first-layer health. Spend calibration time where it actually moves your prints forward; for many users that is bed mesh and pressure advance long before flow rate. FlowFactory is a great tool when you need it, but it is not the first thing to fix if your prints are coming out poorly — start with the basics, get them right, then add FlowFactory as the polish step that makes good prints look excellent.